


Modern manufacturing is often a choice between two extremes: the slow, fragile output of 3D printing or the eye-watering startup costs of steel injection molding. Repmold breaks this deadlock by offering a high-speed middle ground for companies that need parts yesterday without emptying the bank.
What is Repmold in Modern Manufacturing?
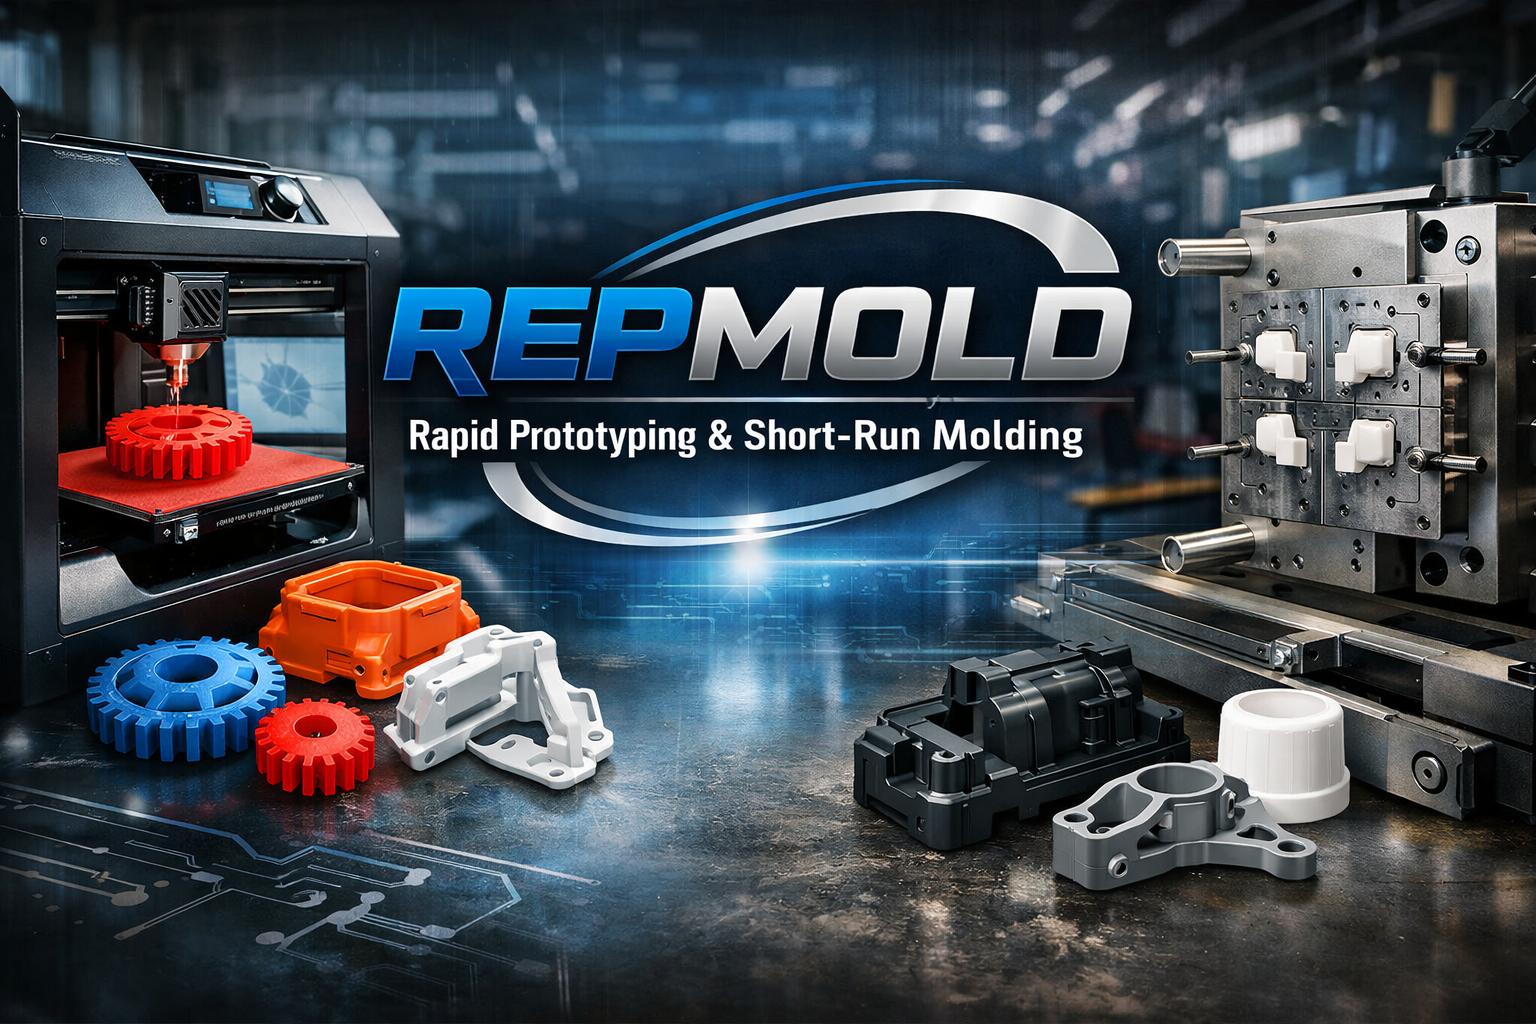
Repmold is a hybrid production methodology that combines digital replication techniques with rapid molding to create high-fidelity parts in a fraction of the time required by traditional tooling.
In simple terms, it is a bridge between a rough prototype and a finished product. The name itself comes from “replication” and “molding.” Instead of spending $50,000 on a hardened steel mold that takes three months to build, engineers use repmold to create temporary or “soft” tooling. This allows for production runs of 50 to 5,000 parts using industrial-grade resins that mimic the properties of final plastics like ABS or Polycarbonate.
Here is why this matters: most product designs change at least three times during the first year of release. If you commit to a permanent mold too early, every design tweak becomes a massive financial loss. With this approach, you can iterate, test, and ship to early customers while your competitors are still waiting for their steel tools to arrive from the machine shop.
The Practical Workflow: From CAD to Part
The repmold process relies on a digital-first workflow where a master pattern is used to create a series of repeatable, high-precision molds.
How does this work in a real shop? It follows a logical path that prioritizes speed.
- Digital Design: You start with a standard CAD file. Engineers run simulations to check for “draft angles” and wall thickness.
- Master Pattern Creation: A 3D printer (usually SLA or PolyJet for smoothness) or a CNC mill creates a “master.” This is the perfect physical version of your part.
- Molding the Master: The master is suspended in a frame and covered in high-durometer silicone or polyurethane. Once it cures, the master is removed, leaving a perfect negative cavity.
- Casting: You inject production-grade resin into the cavity. Because the mold is flexible, it can handle “undercuts” that would break a traditional steel mold.
- Repetition: A single silicone mold can usually produce 20 to 50 parts before it degrades. To scale up, you simply use the master to make more molds.
Comparing Repmold to Traditional Methods
Choosing the right manufacturing path depends on your total volume and the specific mechanical requirements of your project.
| Feature | 3D Printing | Repmold | Steel Injection |
|---|---|---|---|
| Upfront Cost | Negligible | $500 – $3,000 | $10,000 – $100,000+ |
| Lead Time | 1-2 Days | 3-7 Days | 6-12 Weeks |
| Surface Finish | Visible layers | Professional/Smooth | Flawless/Mirror |
| Best Volume | 1 – 10 units | 50 – 2,000 units | 10,000+ units |
The Hidden Truth: Why 3D Printing Isn’t the Hero
The common belief that 3D printing has made molding obsolete is a myth that ignores the realities of material science and unit economics.
Let’s be honest: 3D printing is fantastic for looking at a shape, but it often fails when you need to “move the needle” in a real-world environment. 3D printed parts are anisotropic, which means they are weaker in the direction the layers were stacked. If you drop a 3D printed part, it might split like a piece of wood along the grain.
In practice, repmold parts are isotropic. Since the resin is poured as a liquid and cures as a solid mass, the strength is uniform in every direction. Plus, if you need 500 parts, 3D printing becomes a nightmare of printer maintenance and failed jobs. A molding setup allows you to pour ten parts at a time, walk away, and come back to finished goods. That means your labor costs drop while your part quality climbs.
Getting the Best Results: Expert Tips
Successful replication requires attention to temperature control and vacuum degassing to ensure parts are free of internal flaws.
If you are trying this for the first time, keep these three rules in mind. First, always use a vacuum chamber. When you mix two-part resins, you trap tiny air bubbles. If you don’t “pull a vacuum” on the liquid before pouring, your final part will look like Swiss cheese. Second, consider the “shore hardness” of your mold. A mold that is too stiff will tear when you try to pull a complex part out. A mold that is too soft will deform under the weight of the resin.
Here’s why many small shops fail: they ignore the “exotherm.” As resin cures, it creates heat. If your part is very thick, that heat can build up and actually melt your silicone mold or cause the part to warp. In simple terms, you need to manage the cooling cycle just as much as the pouring cycle.
Frequently Asked Questions
How long does a repmold tool last?
A standard silicone tool used in the repmold process typically lasts for 25 to 50 “shots” or cycles before the surface begins to degrade or the mold loses its dimensional accuracy.
Can I use real production plastics like Polypropylene?
While you can’t easily pour molten Polypropylene into silicone, you can use specialized polyurethane resins that are chemically engineered to have the same flex, strength, and heat resistance as Polypropylene or ABS.
What is the biggest limitation of this method?
The primary bottleneck is that it is a manual process; unlike automated injection molding, someone must physically pour the resin, wait for it to cure, and manually demold the part, which limits its use for massive million-unit runs.
Is repmold environmentally friendly?
Yes, because it reduces the need for massive steel mining and machining for short-run projects, and many modern resins used in the process are now formulated to be low-VOC or compatible with recycled additives.
The era of “all or nothing” manufacturing is over. By using repmold, you gain the ability to act like a massive corporation with the budget of a lean startup. You can test the market, fulfill your first batch of orders, and refine your design without the fear of a $50,000 mistake hanging over your head.